In this first OnShape tutorial, you will create your education account and configure the software.
Introduction
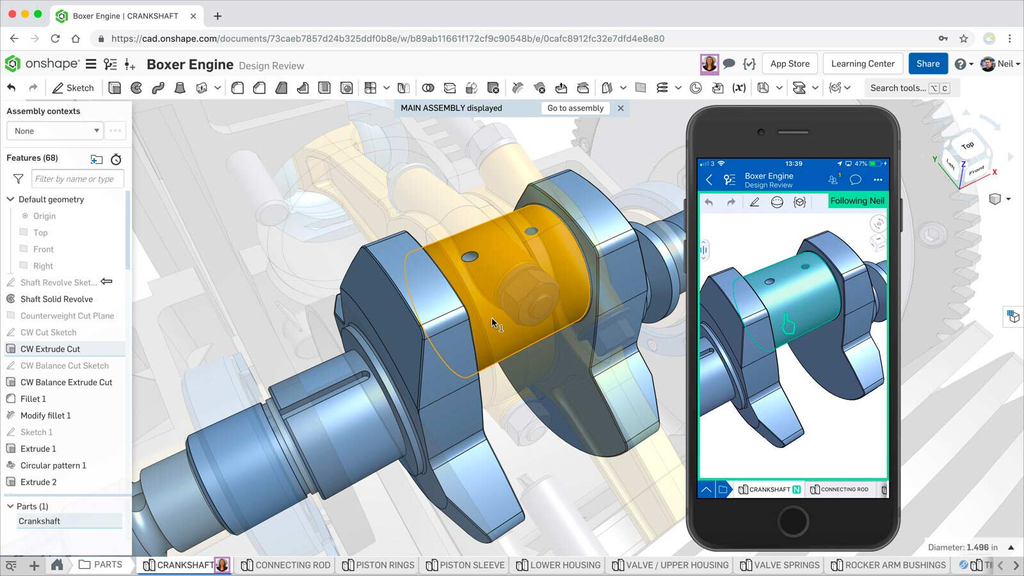
Onshape is a computer-aided design (CAD) software that can be used directly in a browser.
It heavily utilizes cloud computing, with processing and rendering performed on remote servers. Users can interact with the system via a web browser or iOS and Android apps. As a SAAS system, Onshape upgrades are released directly to the web interface, and the software requires no maintenance work from the user.
Onshape allows teams to collaborate on a single shared design, much like multiple editors can work together to edit a shared document via cloud services. It is primarily focused on mechanical CAD (MCAD) and is used for product and machine design in many sectors, including consumer electronics, mechanical machinery, medical devices, 3D printing, machine parts, and industrial equipment.
Installation
Creating Your Account
STEP 1
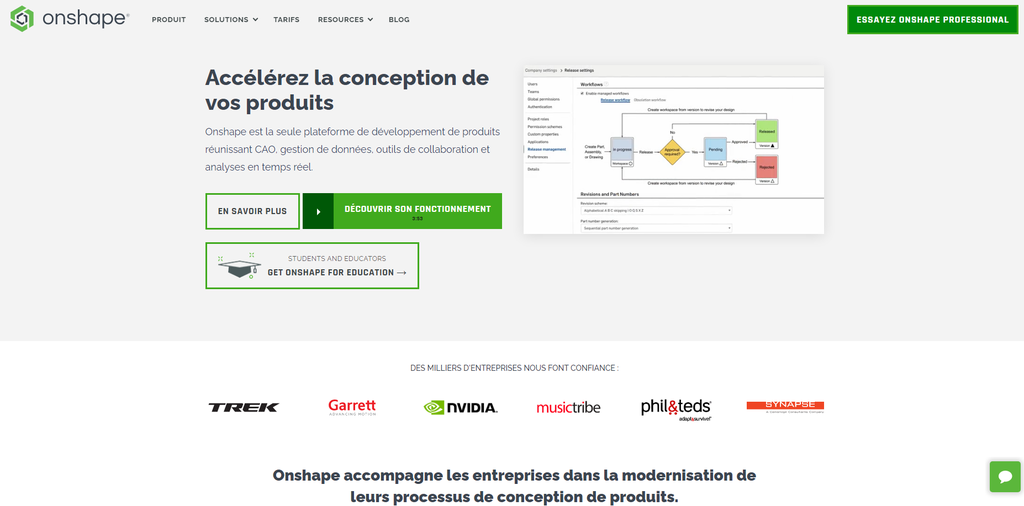
Go to the page www.onshape.com/en/education or by clicking the Get Onshape for education button on onshape.com.
STEP 2
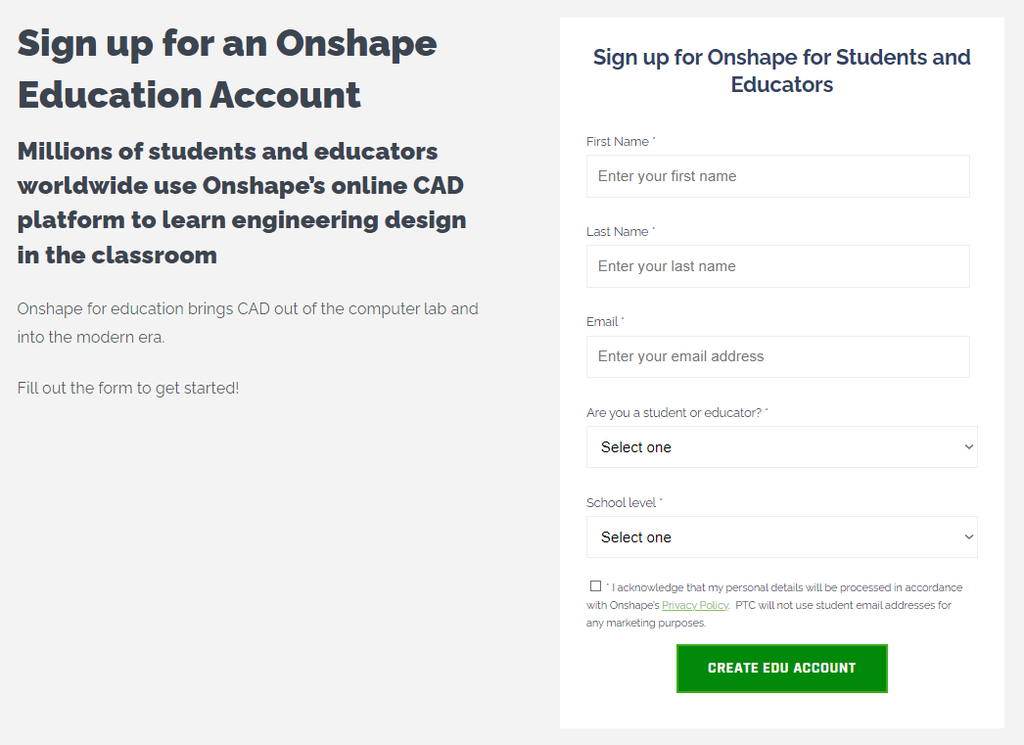
Fill out the form below to create your education account. Note: use your university/student email to fill out the form.
STEP 3
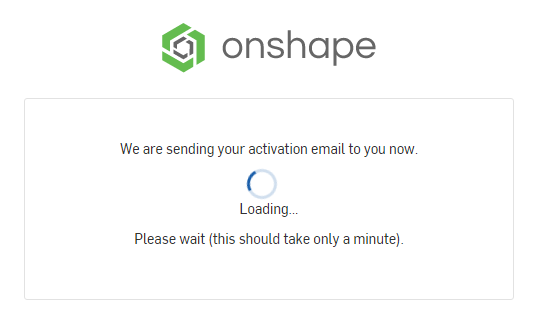
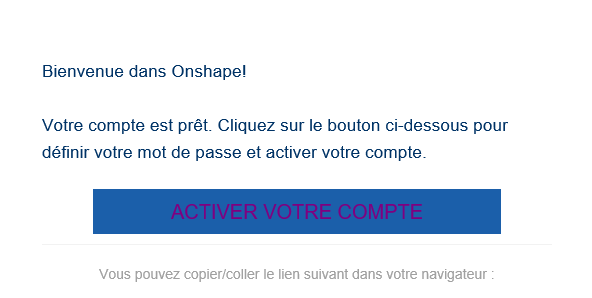
An activation email should be sent to you after you complete the form. Click on the link that will be sent to your email to activate your account.
STEP 4
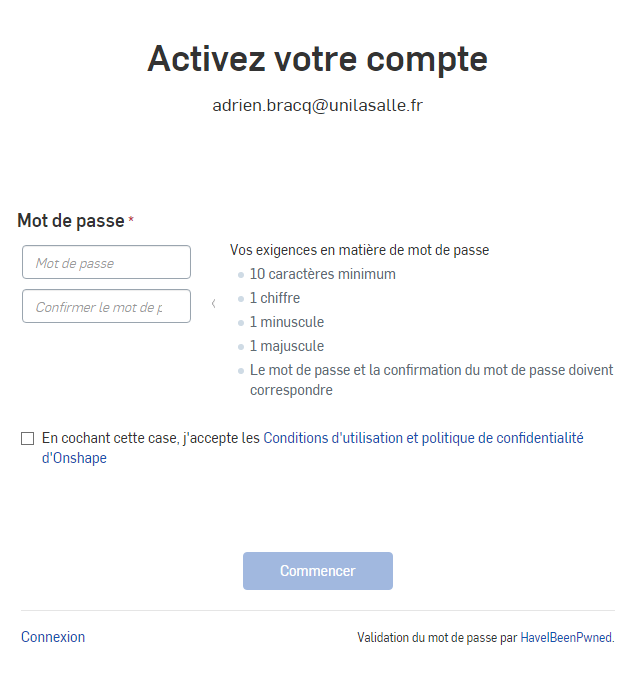
All that’s left is to finalize your account :)
First Launch
STEP 1
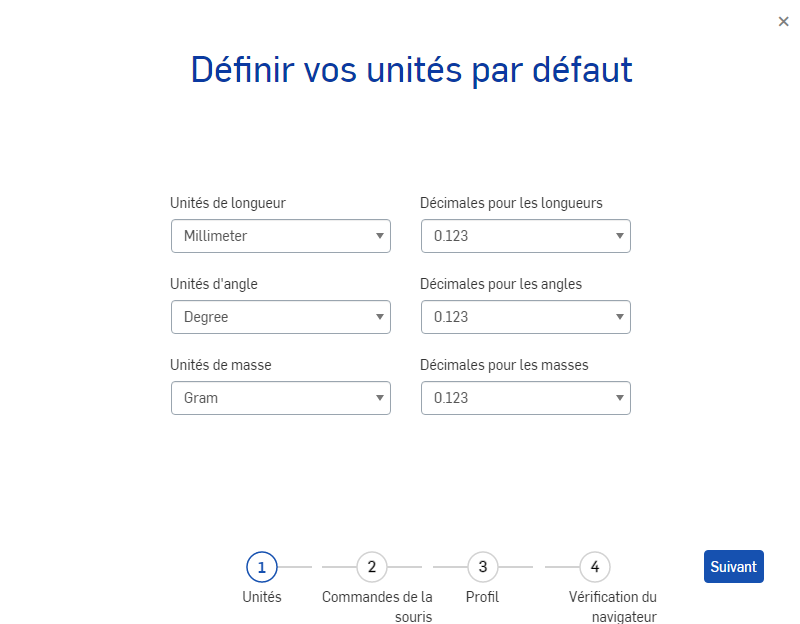
On the first launch, you will need to configure your account. I recommend setting your units to Millimeters, degrees, grams from the start to avoid surprises later on.
STEP 2
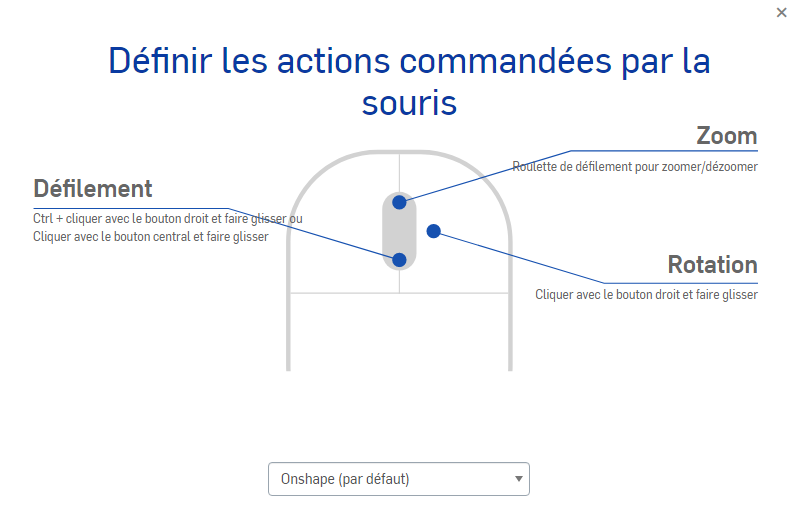
You also have the option to adjust the mouse-controlled actions. Don’t worry, these settings can be changed later on:
STEP 3
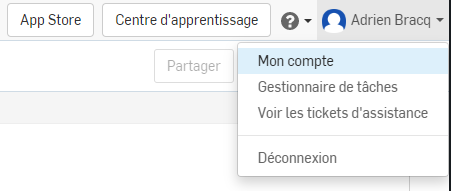
If you wish to make changes to your preferences, click on the account icon at the top right of the page, then go to My Account.